
This is Part 1 of a 2 part article.
When I wrote the article http://househomerepair.com/62-Repairing-Plaster-Substrate.html I could not locate my photos to illustrate the article properly. As luck would have it happen, good or bad I am not sure, some tenants moved out last week and left me with this little project. This damage resulted from one of those hand held sprayers attached to a plaster wall; certainly not the smartest installation on their part.
Rather than rewrite the initial article which is already a little long for web standards I thought I would just make a new one that is mostly photos with extended captions. I recommend that you read the first article for full details of the repair methods.
This first photo shows the damage as I first viewed it. This actually looks worse than it really is. Looking at this I wasn't sure how much plaster I would need to remove from the wall. For sure everything that had pulled away from the lath or that was soft needed to come down.

This picture from the same angle shows most of the loose plaster removed. Note that around the edges there are some places where the hard white is missing and you can see the old brown coat.
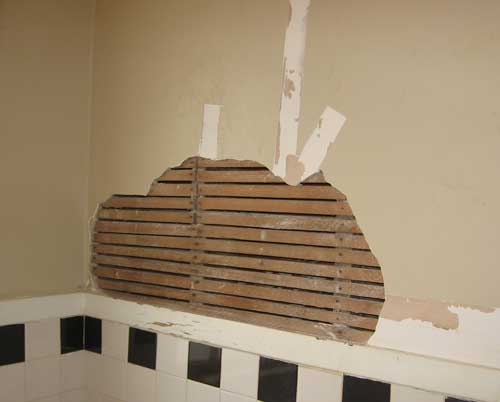
Note that the old "fingers" were cleaned out so that there is a gap between the laths. This is important as it allows the new material to be forced into those gaps creating new "fingers" to make a permanent repair and not something that will fall off the wall in a year or two.
This picture shows the wall section ready for the fresh scratch coat of DURABOND. It will need to be sprayed lightly with water to dampen the old very dry lath before the scratch coat of DURABOND is applied otherwise it would wick the moisture too quickly from the DURABOND.

This article continues in Part 2.

