

This is part two of How to Install a Traverse Rod
We are repeating the images because we need to refer to them again.
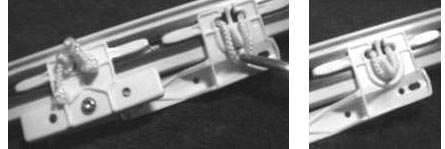
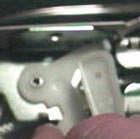
The string is pulled down and out and looped over the plastic hook as shown above. It is important that you hold the two master carriers in place while moving only the string. Once it is looped as shown in photo three, pull on the strings while holding the master carriers in place. This step is performed after the rod is mounted to the wall.
Install cord pulley or guide: After installing the cord pulley or guide you are ready for the final step in the rod installation. To remove the excess cord you pull it out the back of the rod, applying tension to the pulley, and tie a knot. You pull the knot that is on the same side as your cord drop. Remember as you look at this picture that you are viewing the back side of the rod. So when facing the rod the knots are in the master carrier on the right hand side and you normally pull the knot on the right. Again, this is done after the rod is on the wall.
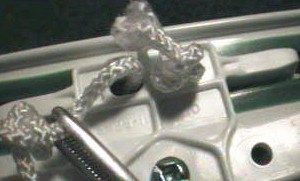
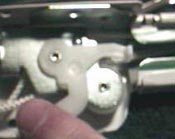
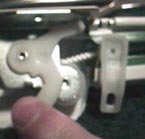
Pin and hang your drapes: When pinning the drapes, set the top of the pin 2 inches down from the top of the drape. This will result in the top of the drape being 1/2" above the rod and 1/2" off the floor. Additionally you have a 1/2 inch margin up or down that you may adjust the hanging length by just adjusting the pins. When hanging your drapes start at the center of the rod. Two pins are attached to each of the master carriers and the one pin per carrier (the plastic hook-like device that the drapery pin is inserted into). You are looking at the backside of a carrier in the center picture below. Leave one carrier unused at the end of the rod (sometimes the last carrier gets caught, leaving an extra insures trouble free operation) and remove the extras. Don't forget to close the gate when you are finished. Different manufacturers have different methods of allowing you to do this. A Kirsch Superfine rod is illustrated in the photos below.
Crease the buckram (the stiffener that is sewn into the top of drapery panels). This is the universally overlooked step in a non professional installation. For the appearance and operation of the drapes, it is one of the most important. Insert your finger between the top of the drape and the rod exactly 1/2 way between each pleat and pull the fabric toward you. Then pinch the fabric and while pinching slide your fingers from the top to the bottom of the pleated area to create a crease. The technique is very similar folding a crease into a pair of jeans before you iron them.
This article or portions of this article were previously published in a significantly different form on two websites owned by the author, window-wizard.net and lexkyweb.com/windows. Those articles are no longer available at those locations. Copyright is renewed with this revised publication (01-31-2010).